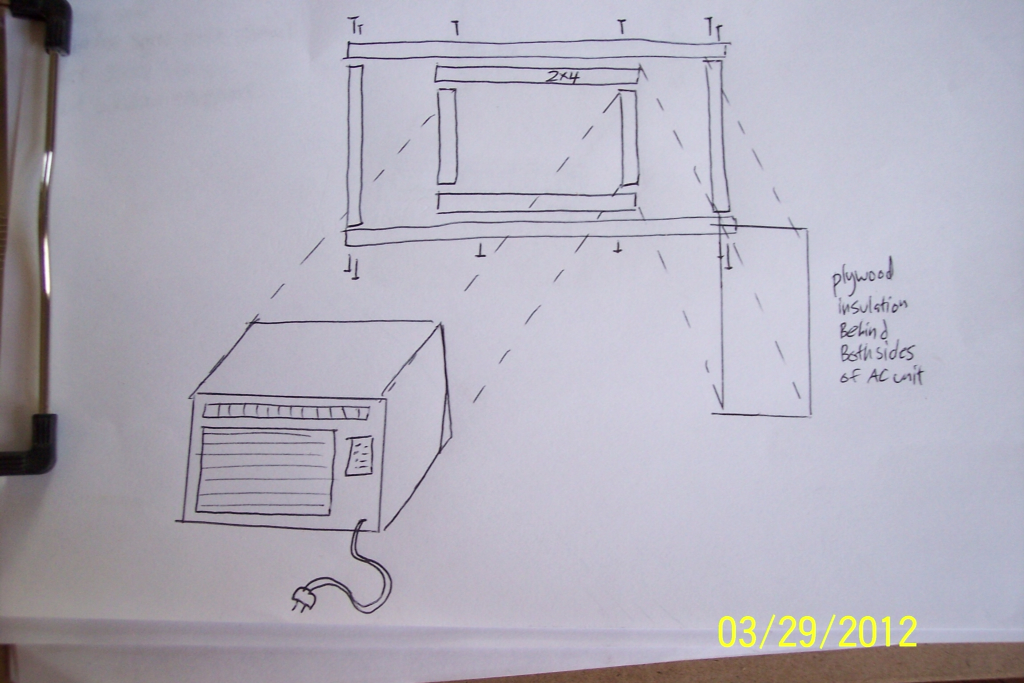
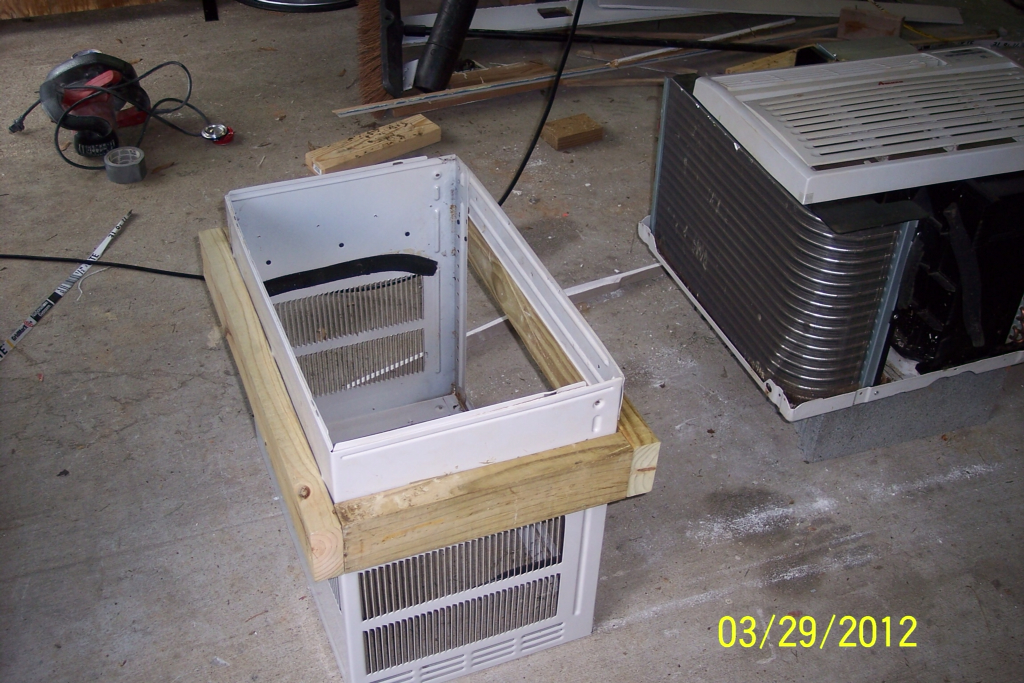
Here we have step one done, the ac housing is firmly screwed into a 2x4 bracket, this was done to two units a smaller one and the larger one pic above.
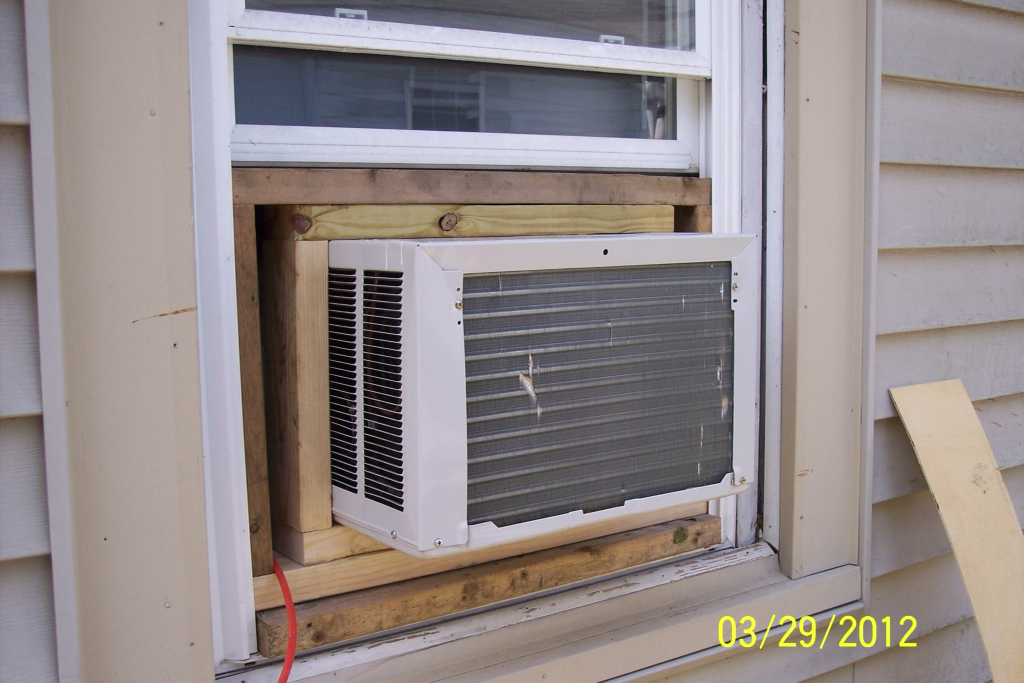
Ok now that we were on site when I measured the window, the framework I had all ready done was sufficient enough with the use of a couple filler pieces and some trim it screwed in nice and tight. Did ya notice the gangster lean of the unit( this name was given to the stance of the window unit by my extra set of helping hands brother in #4 I don't think the gangster lean comment came from the fact we were in the hood i think it just came out like that) this is to allow any condensation to drip off the back of the unit, not run down the wall and cause rot/mold( which was the case on the rental project Im currently working on). it was nice that the larger unit separated from it housing this made the install so much easier, after mounting the housing all we had left to do was slide in the guts and done.
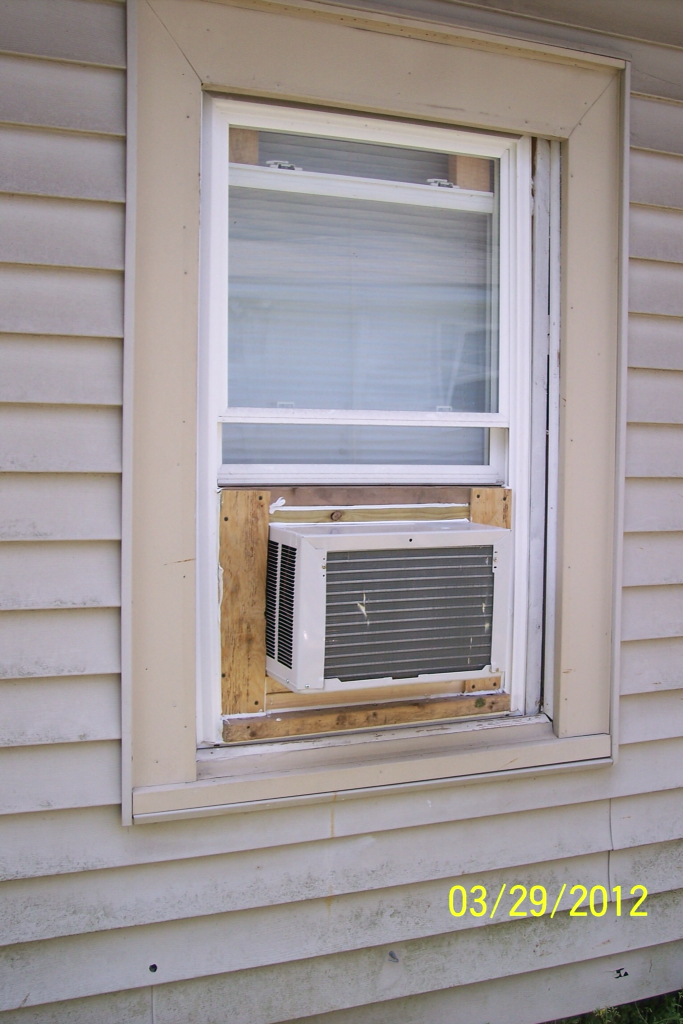
Now the next window unit was smaller the planned extra farming was needed, here you can see the frame work
after placing some covers over the holes in the framing and some caulking it was done, screwed in tight as tight can be. Now all that's needed is a little paint. But untill then the renters can enjoy a little man made cool air. Ps I also cut spacers out of scrap 2x4's and blocked the opening of the windows any further from the outside, but still can be opened from the inside once you remove the blocks.


1 comment:
It will be nice if you can keep those things for a while.
Post a Comment